

Thinking about getting your ear pierced? Let's get one thing straight: the days of sitting in a mall kiosk, bracing for the cha-chunk of a piercing gun, are over. Or at least, they should be.
Getting your ear pierced at a professional tattoo parlor is the new gold standard, and for good reason. It’s the difference between a delicate, precise procedure and blunt-force trauma.
Why a Tattoo Parlor Is Your Best Bet for Ear Piercings
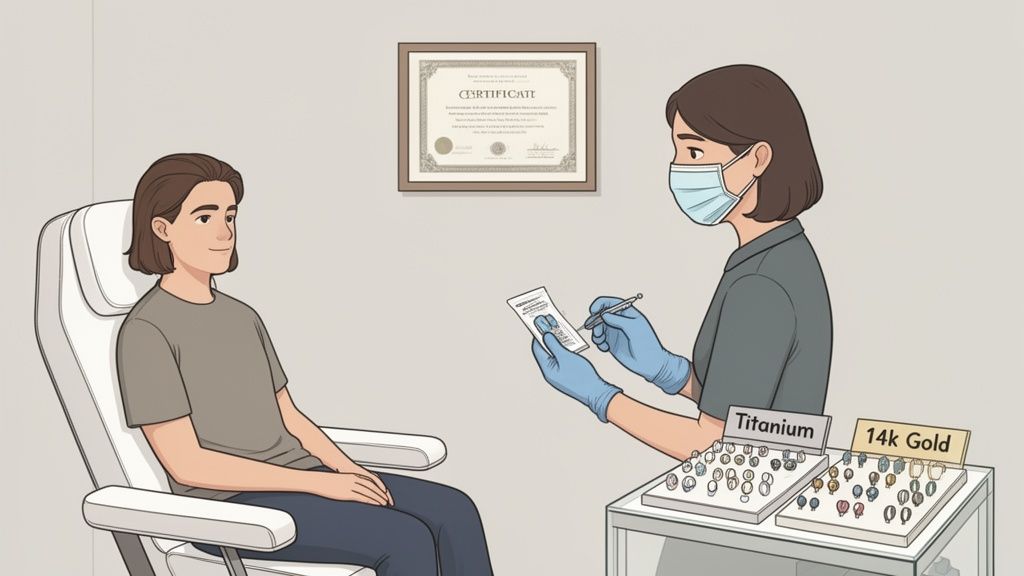
Today, tattoo parlors aren't just for ink. They've become centers of excellence for all kinds of body modification, staffed by specialists who treat piercing with the respect it deserves.
A professional piercer in a studio environment is an expert in anatomy. They know precisely where to place a piercing not just so it looks great, but so it heals properly. They understand the intricate cartilage and tissue of your ear—knowledge you simply won’t find at a retail store.
The Professional Difference
The biggest advantage is the unwavering commitment to safety. Tattoo parlors operate under strict health codes, much like a medical office. This isn't just a suggestion; it's a requirement.
Here’s what that means for you:
- Aseptic Technique: Every tool that touches your skin is either single-use or sterilized in a hospital-grade autoclave. Your piercer will be wearing fresh medical-grade gloves. No exceptions.
- Anatomical Knowledge: Professional piercers are trained to work with your body, not against it. They use a sterile, razor-sharp needle to create a clean channel, which minimizes tissue damage and leads to a much smoother healing process.
- Quality Jewelry: You’ll get access to jewelry made from safe, body-compatible materials like implant-grade titanium and solid 14k or 18k gold. These won't cause allergic reactions, tarnish, or irritate your fresh piercing.
To put it in perspective, here’s a quick breakdown of how a professional studio stacks up against the old-school mall gun.
Tattoo Parlor Needle Piercing vs Mall Kiosk Piercing Gun
| Feature | Professional Tattoo Parlor | Mall Kiosk/Piercing Gun |
|---|---|---|
| Technique | Sterile, single-use hollow needle creates a clean channel. | Reusable spring-loaded gun forces a blunt stud through tissue. |
| Safety | Fully sterilized equipment (autoclave) and aseptic environment. | Guns cannot be fully sterilized, risking cross-contamination. |
| Pain & Healing | Less trauma, resulting in less pain and faster healing. | Causes significant tissue damage, leading to more swelling and complications. |
| Jewelry Quality | Implant-grade titanium or solid gold. Nickel-free options available. | Low-quality, mystery metals often coated to look like gold/silver. |
| Aftercare | Detailed, professional guidance for long-term health. | Minimal, often outdated advice (e.g., twisting the jewelry). |
| Expertise | Trained and licensed piercers with anatomical knowledge. | Retail employees with minimal training. |
The choice is pretty clear. A piercing gun is a tool of convenience, not precision or safety.
At a professional studio like Fountainhead New York, we see piercing as a holistic experience. It’s not just about the 30 seconds the needle is involved; it's about the detailed consultation beforehand, the quality of the jewelry you leave with, and our commitment to the long-term health of your piercing.
This shift toward professional studios isn't just anecdotal. The global body piercing jewelry market soared to USD 59.8 billion in 2023, with North America making up over 42% of that revenue. This boom is fueled by a more educated public that understands professional parlors offer a fundamentally safer, better experience. You can dig deeper into the numbers in the full body piercing jewelry market report.
Ultimately, choosing an ear piercing at a tattoo parlor is an investment. You're paying for expertise, safety, and the peace of mind that comes from knowing your new adornment will be beautiful, healthy, and perfectly placed.
How to Vet a Piercing Studio and Find a Pro
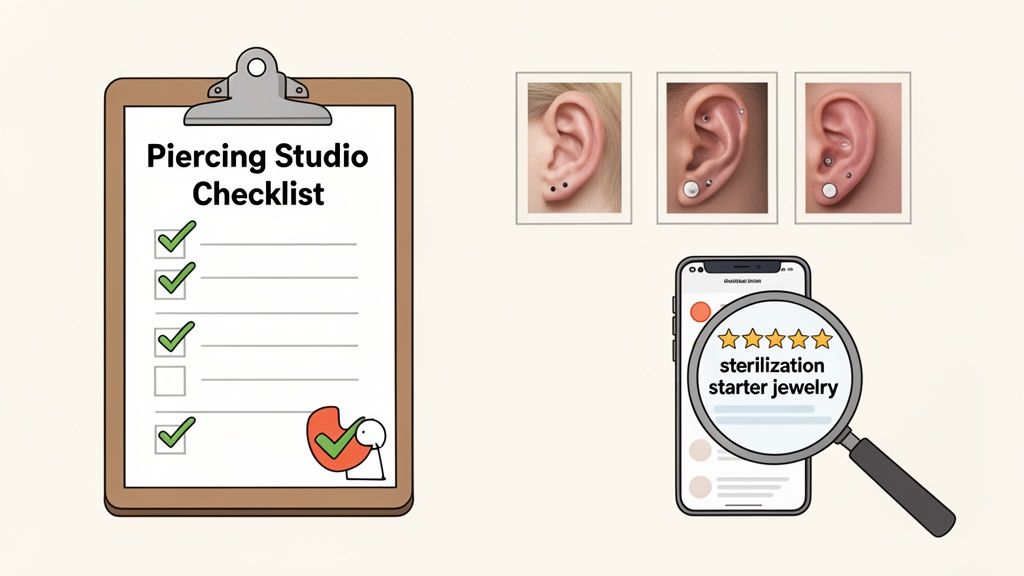
Choosing where to get your piercing is easily the most critical decision you'll make. A truly professional studio offers more than just the piercing itself; they provide a safe, sterile, and supportive experience from the moment you walk in. So, your first step is simple: just walk in and look around.
Your gut feeling matters. The shop should feel more like a clean, well-run clinic than a back-alley operation. Look for bright lighting, organized stations, and spotless floors. If you see clutter, dust, or a general sense of disarray, that's your cue to leave. A shop's cleanliness is a direct reflection of its professional standards.
Scrutinize Their Portfolio
A piercer’s portfolio is their entire resume, and you need to look closer than just the pretty pictures. Photos of fresh piercings are great, but they all look perfect right after they're done. The real evidence of skill is in the healed work.
Ask to see photos of piercings that are months, or even years, old. A piercer who is genuinely proud of their craft will have a collection of healed photos showing off perfectly placed, healthy-looking results. This proves their technique is solid and that they understand anatomy and proper aftercare—essentials for a successful, long-lasting piercing, especially in tricky cartilage spots. If all you see are fresh, red, and swollen piercings, that’s a red flag.
Ask the Right Questions
Once you've checked out the shop and their work, it's time to talk to the piercer. A true pro will be happy to answer your questions and will never make you feel rushed or silly for asking. This conversation is your final vetting tool.
Here are the non-negotiable questions you need to ask:
- What materials do you use for initial jewelry? The only answers you should hear are implant-grade titanium (ASTM F-136) or solid 14k/18k gold. Vague terms like "surgical steel" are unacceptable, as they can contain nickel and other alloys that cause irritation and allergic reactions.
- Can you walk me through your sterilization process? They should immediately talk about their steam autoclave, which is the only way to properly sterilize tools and jewelry. When it's your turn, they should open freshly sealed, sterile packages right in front of you. No exceptions.
- What are your aftercare instructions? Correct, modern aftercare is simple: a sterile saline solution spray and a "less is more" approach. If they suggest using alcohol, harsh soaps, or tell you to twist the jewelry, their knowledge is dangerously out of date. Run, don't walk.
Finding the right studio means finding a partner in your piercing journey. They should make you feel comfortable, informed, and confident. At Fountainhead, we consider the consultation a crucial step to ensure every client leaves with a piercing they love and the knowledge to care for it properly.
Making an informed choice is about protecting your health. The same high standards for hygiene and safety that apply to tattoos are just as vital for piercings. For a deeper dive into what separates a great shop from a mediocre one, check out our guide on how to find the best tattoo shop on Long Island.
Ultimately, trust your instincts. If something feels off, it probably is. Just walk away and find a reputable piercer who earns your business the right way.
Navigating Your Consultation and Piercing Options
Your piercing consultation is where your ideas get a professional reality check. This isn't just a quick "point and shoot" situation; it's a collaborative session where an experienced piercer looks at your unique anatomy and helps figure out the perfect placement for your new jewelry.
Think of it as a personalized planning stage. Your piercer will examine the specific shape, curves, and thickness of your ear to determine what will not only look incredible but also heal with the fewest possible issues. This is your chance to ask every question you have and explore all the possibilities beyond a standard lobe piercing.
Exploring Piercing Placements and Styles
While classic lobe piercings are timeless for a reason, the world of ear curation offers a massive canvas for self-expression. The consultation is the perfect time to discuss more ambitious or unique placements.
Here are a few popular options you might consider:
- Helix: This is any piercing on the upper cartilage rim of the ear. It’s incredibly versatile, offering a home for everything from simple studs to elegant hoops once healed.
- Tragus: Placed on that little piece of cartilage that partially covers the ear canal, it’s perfect for a subtle, sophisticated stud.
- Conch: This piercing sits right in the inner cup of the ear. You can style it with a stud for a more understated look or, once it's fully healed, a large-diameter ring that wraps dramatically around the ear's cartilage.
- Daith: Tucked into the innermost fold of cartilage, a daith piercing is a bold statement that’s almost always shown off with a decorative ring.
Your piercer should walk you through the healing timelines and practical considerations for each one. For instance, a helix piercing might be more likely to get snagged on your hair or a towel, while a tragus piercing can make using earbuds tricky during the initial healing. This honest conversation ensures you pick a piercing that fits your aesthetic and your daily life. The demand for ear piercings remains huge; one studio reported they made up 71% of all their procedures after reopening.
The Critical Role of High-Quality Jewelry
Hands down, the most important decision you'll make—besides where the hole goes—is the jewelry you put in it. A reputable, professional studio will only offer materials that are biocompatible, meaning your body is highly unlikely to have a bad reaction to them. This is completely non-negotiable for a fresh piercing.
The jewelry you are pierced with is not just an accessory; it is a medical implant. Its material and finish are crucial for preventing allergic reactions, irritation, and infection during the delicate healing process.
Your piercer should guide you exclusively toward implant-grade metals. The industry standards are clear:
- Implant-Grade Titanium (ASTM F-136): This is the gold standard and our top choice for initial piercings. It’s incredibly lightweight, completely nickel-free, and has a mirror-smooth surface finish that makes healing much easier.
- Solid 14k or 18k Gold: We’re talking solid gold, not gold-plated or gold-filled junk. It must be a nickel-free alloy specifically designed for body compatibility.
Be very wary of any place that uses "surgical steel." It's a vague, catch-all term for a wide range of metal alloys, many of which contain enough nickel to cause a nasty reaction in sensitive individuals. A curated selection of high-quality jewelry, like what we offer here at Fountainhead, is a dead giveaway that a studio puts client safety and artistic expression first. As you figure out your options, it's vital to choose the right прикраси для пірсингу (piercing jewelry) for both healing and long-term style.
This whole process of discussion and planning is very similar to what you'd go through for a tattoo, which you can read more about in our guide on https://fountainheadny.com/blogs/news/how-to-choose-a-tattoo-artist.
What to Expect During the Piercing Procedure
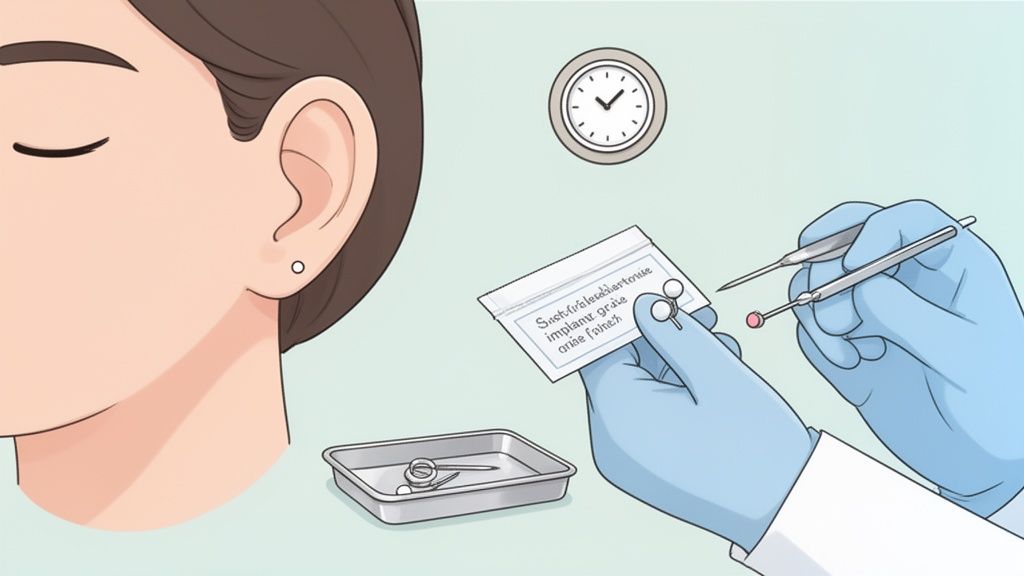
It’s completely normal to feel a mix of excitement and nerves before your appointment. Knowing what’s coming can turn that anxiety into calm confidence.
Getting an ear piercing at a tattoo parlor is a controlled, clinical, and surprisingly quick event. It's a world away from the chaotic rush you might remember from a mall kiosk.
Your piercer will start by bringing you to a clean and private (or semi-private) area. They’ll confirm the exact placement you talked about during the consultation, giving you one last look in the mirror to make sure you’re happy. This is a collaborative moment, not a race to the finish line.
Preparation and Marking
Once you give the final thumbs-up, the real prep work begins. Your piercer will put on a fresh pair of medical-grade gloves and thoroughly clean your ear with an antiseptic wipe. This is a critical step that removes any surface bacteria, creating a sterile field for the piercing.
Next comes the marking. Using a sterile, single-use skin marker, your piercer places a tiny dot exactly where the needle will pass through. They’ll have you check it from multiple angles to confirm it’s perfect. Precision is everything, and a true professional will take their time to get this right. They will never proceed until you are 100% satisfied with the placement.
The moments before the piercing are all about control and communication. A professional piercer will talk you through each step, ensuring you feel comfortable and informed. Their calm demeanor is often contagious and helps put clients at ease.
The Piercing Itself
With the spot marked and confirmed, it’s time for the main event. You’ll see your piercer open a sterilized package containing a brand-new, single-use hollow needle right in front of you. This is non-negotiable.
They will ask you to take a deep breath in and then exhale slowly. On the exhale, they will quickly and smoothly guide the needle through the marked spot.
Most people describe the feeling as a sharp, quick pinch or a sting that lasts for only a second or two. It’s much faster and far less traumatic than the blunt-force trauma of a piercing gun.
Immediately after the needle, your chosen jewelry is inserted into the new channel. The piercer secures the backing, and just like that, you're done. They’ll clean the area one last time, double-check that the jewelry is secure, and give you a moment to admire your new piercing in the mirror.
The whole process, from the final mark to the jewelry being in, is usually over in just a couple of minutes. The focus is always on creating a clean, precise wound that will heal beautifully.
Mastering Aftercare for a Trouble-Free Heal
Getting the piercing is the easy part. It’s over in a flash.
The real work comes during the healing process, and your discipline here makes all the difference between a beautiful result and a frustrating experience. Our entire aftercare philosophy revolves around one simple, powerful concept: The Leave It The Heck Alone method, or LITHA for short. This approach, paired with gentle cleansing, is the industry standard for a reason.
We're going to bust some old myths you might have heard, like twisting your jewelry or dousing your new piercing in harsh chemicals. Trust us, less is more.
Why the "Hands-Off" Approach Is Best
Your body is an amazing healing machine. The LITHA method is all about minimizing irritation and letting your body do its thing without you constantly interfering. When you leave a new piercing alone, your body forms a delicate protective barrier of cells called a fistula. Messing with it just sets you back.
This isn't just shop talk; the evidence backs it up. Countless studies show that piercings have far fewer complications when sterile saline is the only thing used for cleaning. In fact, some reports show that as many as 73% of piercings heal faster and with fewer issues when clients stick to a low-touch routine.
It really boils down to this:
- Do: Gently rinse the area with a sterile saline solution twice a day.
- Do: Pat it dry afterward with a clean, disposable paper towel. Never use a cloth towel, which can harbor bacteria and snag your jewelry.
- Don't: Twist, turn, or rotate your jewelry. It does nothing to help and only irritates the healing tissue.
- Don't: Go swimming in pools, hot tubs, lakes, or oceans until your piercer gives you the all-clear.
We also make sure your initial jewelry fits snugly. This isn't just for looks; it's a practical measure to prevent it from snagging on your hair, clothes, or pillowcase, which can cause irritation bumps and delay healing. And speaking of sleep, trying to rest on a fresh piercing is no fun. A travel pillow with a hole in the middle is your new best friend—just place your ear in the opening to avoid any pressure.
Your Daily Cleaning and Care Routine
Your cleaning kit should be simple: sterile saline solution is your number one tool.
Stay far away from things like rubbing alcohol, hydrogen peroxide, or iodine. These are way too harsh for a healing wound and will only dry out and irritate the delicate new tissue, making your healing journey longer and more painful.
For an extra gentle but effective clean, some people find a hypochlorous acid spray can be a great addition to their routine, as it’s known for being incredibly kind to healing skin.
And this should go without saying, but always, always wash your hands thoroughly with soap and water before you touch your piercing for any reason. Hygiene is non-negotiable.
Here’s a simple, effective cleaning process:
- Saturate a sterile, non-woven gauze pad with saline solution. Hold it gently on the piercing for a few minutes to soften any "crusties" (dried lymph fluid).
- Use a fresh piece of saline-soaked gauze to gently wipe away any softened debris. Don't pick at it.
- Let the area air dry completely, or give it a final, gentle pat with a clean paper towel.
Patience is key. Lobe piercings typically take 6 to 8 weeks to heal, while cartilage can take anywhere from 3 to 12 months. Don't rush it. A little patience now prevents a lot of headaches later.
Healing Timeline at a Glance
Every piercing and every person is different, but here’s a general guide to help you set your expectations. Use it to track your progress, but remember it’s just an estimate.
| Piercing Type | Average Healing Time |
|---|---|
| Lobe | 6–8 weeks |
| Helix | 3–6 months |
| Tragus | 3–9 months |
Think of it like this: a client of ours recently got her helix pierced and was militant about her LITHA routine. She had zero irritation bumps and was fully healed right around the 7-week mark for her lobes. Her experience is a perfect real-world example of why a minimal-handling approach always wins.
The bottom line: Gentle, consistent cleaning and leaving your piercing alone are the two pillars of a smooth, successful heal.
Knowing When Something Is Wrong
It’s totally normal for a new piercing to have some mild swelling, redness, and tenderness for the first few days. You’ll also likely see a bit of clear or whitish fluid that dries into a crust. Don't panic! These "crusties" are just dried lymph fluid, a normal part of the healing process.
However, you need to be able to spot the difference between normal healing and the early signs of trouble.
Keep an eye out for these warning signs:
- Red streaks radiating from the piercing site.
- The area feels hot to the touch long after the first few days.
- Thick, yellow, or green pus (not to be confused with clear/whitish lymph fluid).
- Swelling that gets worse after day three.
- A fever or feeling generally unwell.
If you experience any of these symptoms, contact us or a medical professional immediately. Whatever you do, do not remove the jewelry, as this can trap a potential infection inside.
For more on keeping your new body art clean and healthy, check out our tattoo aftercare instructions guide—many of the same principles of hygiene apply!
Follow this guidance, be patient, and let your body work its magic. Your new piercing will heal up beautifully before you know it.
Your Ear Piercing Questions Answered
Even after doing your homework, it’s completely normal to have a few questions rattling around in your head. We get it. To help you walk in feeling 100% confident, we’ve put together some straight-up, expert answers to the most common things we hear from clients.
Does Getting Pierced With a Needle Hurt More Than a Gun?
This one surprises a lot of people, but most report that a needle actually hurts less. A professional, hollow piercing needle is incredibly sharp. It glides through the tissue, creating a clean, precise channel for the jewelry.
A piercing gun, on the other hand, uses blunt force to essentially punch an earring through your ear. That’s way more traumatic to the tissue. The sensation from a needle is just a quick, sharp pinch that’s over almost before you realize it started. Honestly, the anticipation is usually worse than the piercing itself.
How Much Should I Expect to Pay at a Tattoo Shop?
Costs definitely vary depending on your city and the specific piercing you’re getting, but any good shop will be totally transparent with their pricing. You’ll typically pay a service fee for the piercer’s time, skill, and all the sterile supplies, which usually runs from $40 to $80 or more. The cost of your jewelry is separate.
Think of that initial jewelry as a necessary investment in your body. We only use high-quality, implant-grade materials because they’re crucial for safe and easy healing. Your piercer will give you a full price breakdown during the consultation, so there are no awkward surprises at the register.
Can I Use My Own Jewelry for a New Piercing?
The answer you’ll get from any reputable studio is a firm but polite "no." There are some really important reasons for this. For a fresh piercing, we absolutely have to guarantee the material quality, the smoothness of the surface finish, and the sterility of the jewelry. It’s the only way to prevent nasty infections, allergic reactions, and other healing problems.
Your initial jewelry is a medical implant, not just an accessory. We use pre-sterilized, high-quality pieces from trusted suppliers to ensure your piercing has the best possible start for a safe and successful healing journey.
This policy is here to protect you and allows the piercer to stand behind their work with total confidence. Once your piercing is fully healed up, you can go wild and explore a whole world of different jewelry styles.
The infographic below really nails the three simple, core steps of a solid aftercare routine.
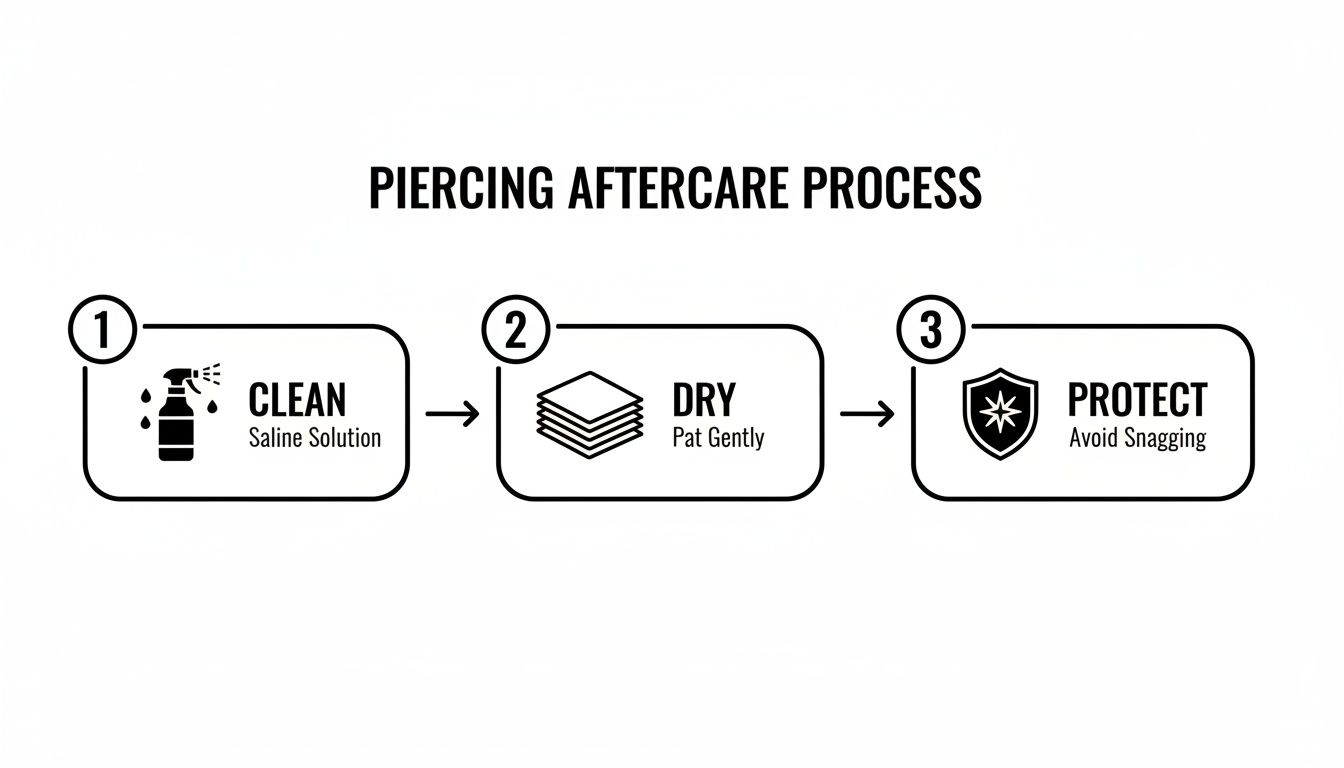
This visual breaks aftercare down into three essential actions: clean, dry, and protect. It reinforces that a simple, consistent routine is the absolute key to a happy, healthy piercing.
What Should I Do if I Get a Piercing Bump or Infection?
First things first: don't panic. And whatever you do, do not take the jewelry out. A lot of what people assume are infections are actually just irritation bumps, often caused by accidentally snagging the jewelry or sleeping on it funny.
A true infection is a different beast and usually involves symptoms like yellow or green pus, intense heat around the area, and red streaks spreading from the piercing site.
Either way, your first call should be to your piercer. They’ve seen it all and can troubleshoot what’s going on, giving you professional advice specific to your situation. If they suspect a serious infection, they’ll tell you to see a doctor for medical care.
Ready to start your piercing journey with artists who live and breathe safety, craftsmanship, and style? At Fountainhead New York, we provide a world-class experience from the initial consultation to a beautifully healed result. Explore our work and book your appointment today at https://fountainheadny.com.


